
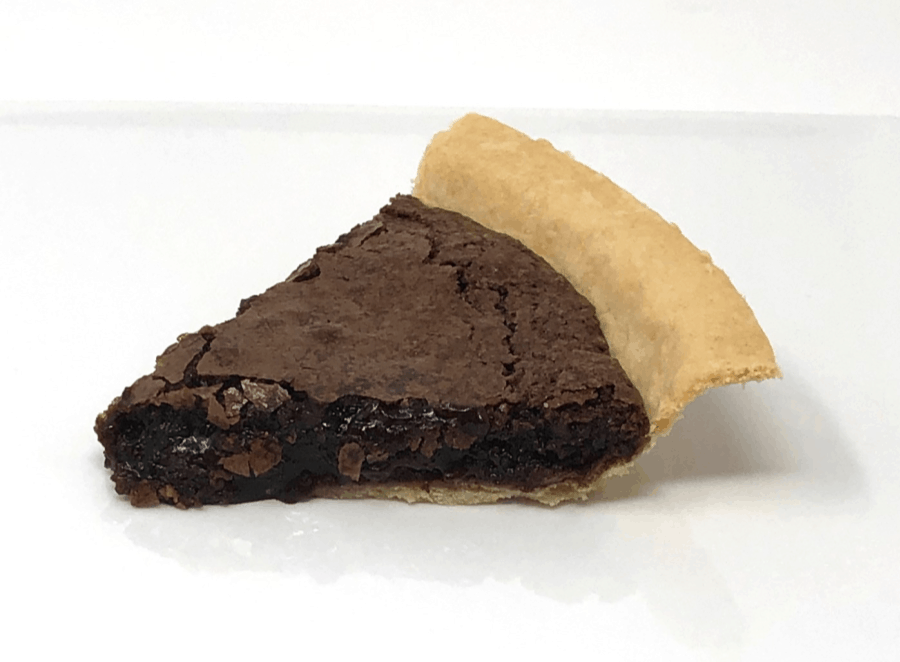
Old-Fashioned Fudge Pie
In a world filled with convenient boxed baking mixes, I love combining my own ingredients in a tried and true recipe. I suppose we often called these homemade recipes, and for a good reason. There is nothing better than the taste of home.
One of the best and easiest homemade recipes that I make is my Great Aunt Darlene’s fudge pie. The pie is beautiful because the recipe fills up a pie shell well. I also love the way it tastes because what tastes better than a moist fudge brownie and pie crust? The pie is easy to make, and except for the pastry shell (which on this pie I usually cheat and buy one pre-made), you will find most of the ingredients already in your pantry. You do not need any fancy equipment for the recipe. A bowl, a mixing spoon, and a small pot are all the cooking utensils that are required.
Darlene has been making this pie for years, and each fall, when there is a cakewalk or a fall celebration, fudge pie is my pie of choice to bake. I have had many people ask for the recipe over the years, and I have never had a complaint.
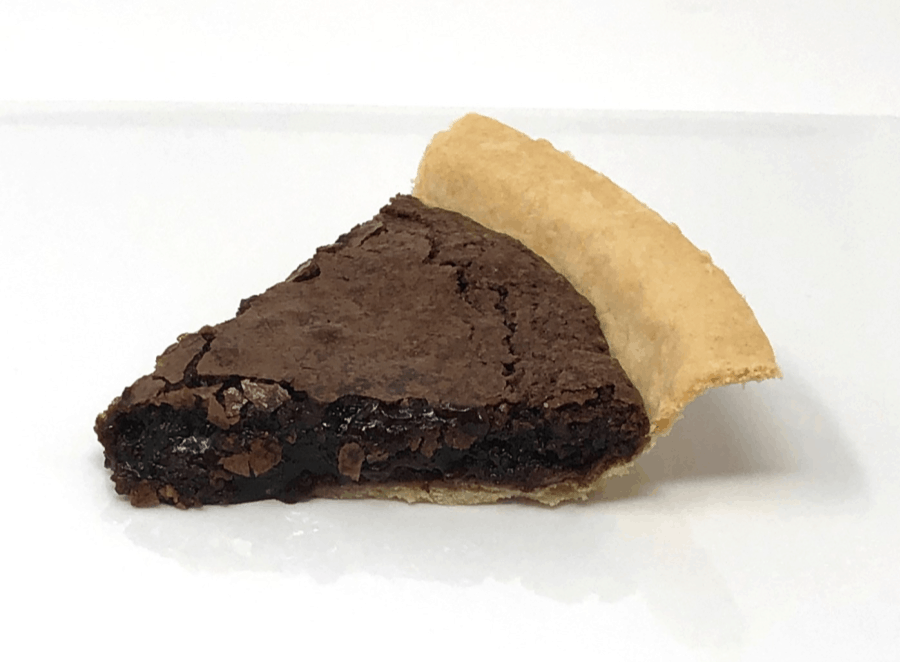
Fudge pies are nothing fancy, but they are absolutely delicious. They can be served hot, cold, or at room temperature. The pies also pair well with ice cream. If I am baking a fudge pie to take to an event, I usually like to make a double batch so that I have one to take and one for home. However, the recipe listed below is for a single pie. I want to share the old-fashioned fudge pie recipe today. I hope you love it as much as we do!
Old-Fashioned Fudge Pie
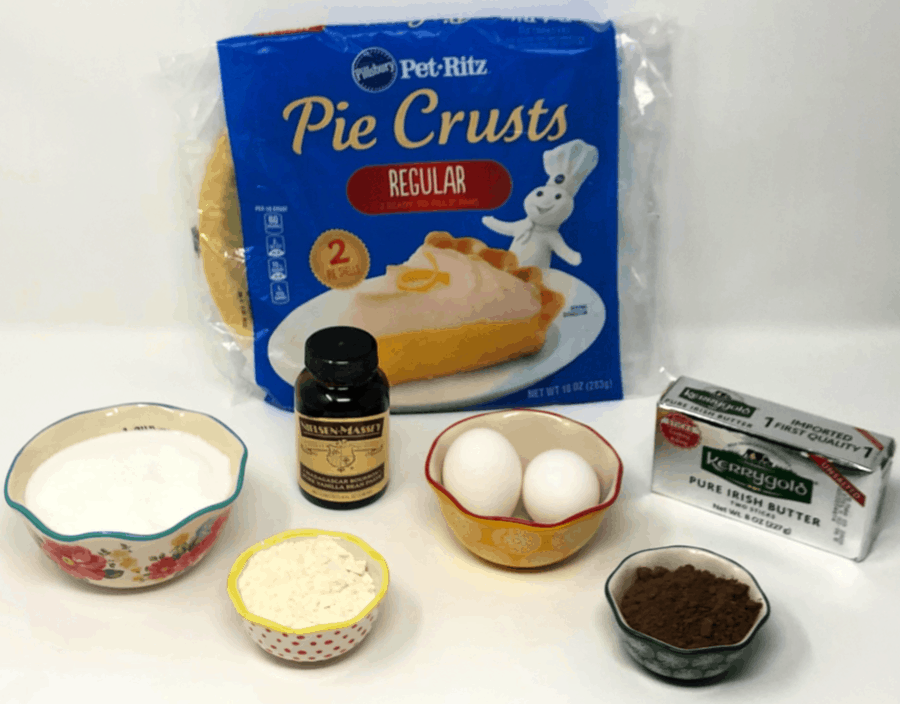
1 cup of granulated sugar
1/4 cup of all-purpose flour
1/4 cup of cocoa
1/2 cup of melted butter
2 eggs
1/4 teaspoon of vanilla
1 unbaked pastry shell
*Feel free to add 1/2 cup of your favorite nuts into the fold. Add your favorite ice cream to the pie if desired.
Preheat your oven to 350 degrees. You may combine the ingredients as you go or wait and mix them well after they are all added.
Melt a stick of butter (1/2 cup) on the stovetop and set aside.
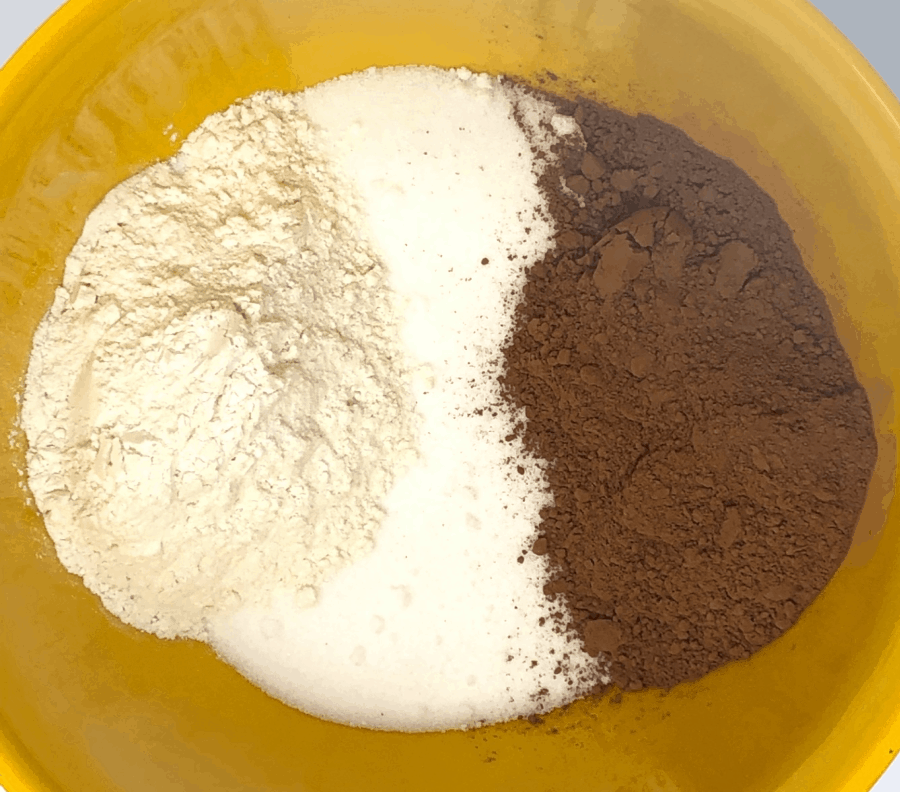
Pour the sugar, flour, and cocoa into a medium-sized mixing bowl.
Mix in the butter and eggs (FYI, this was a double batch with the four eggs).
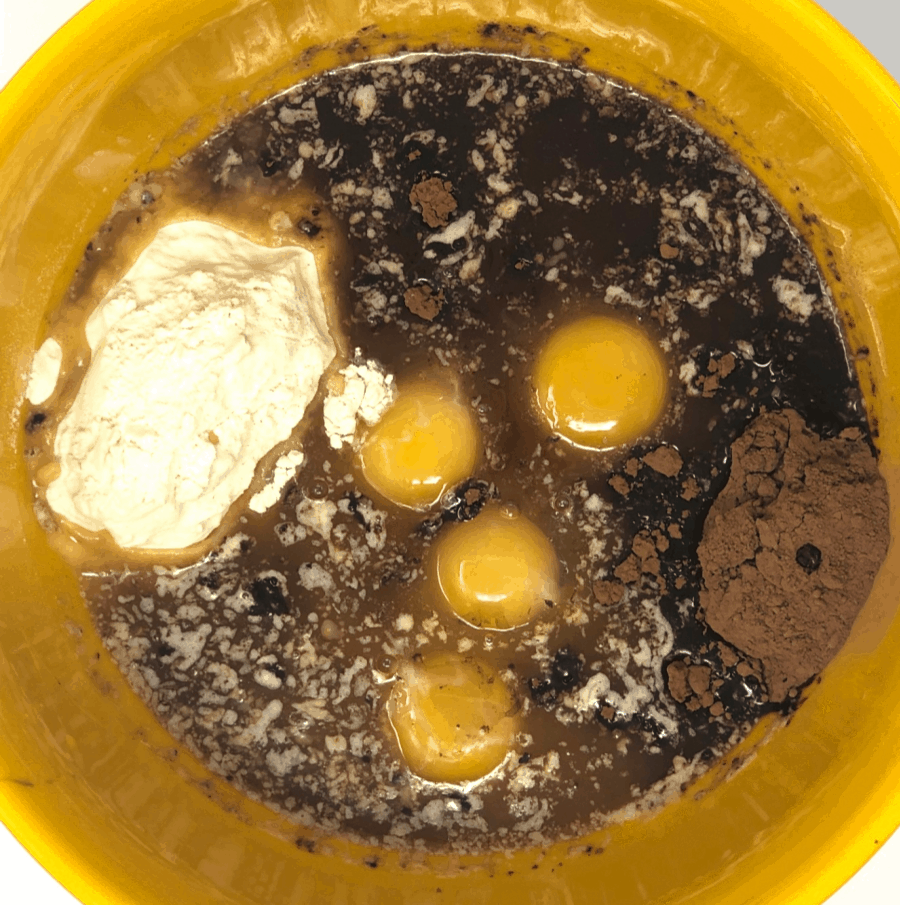
Add the vanilla and combine all of the ingredients well.
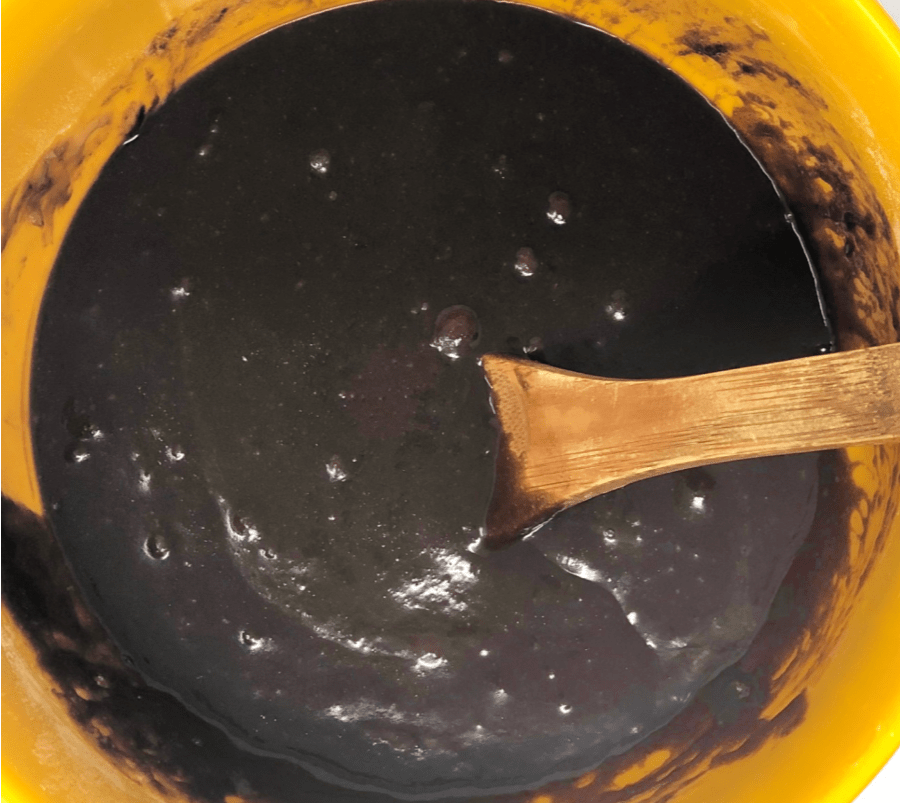
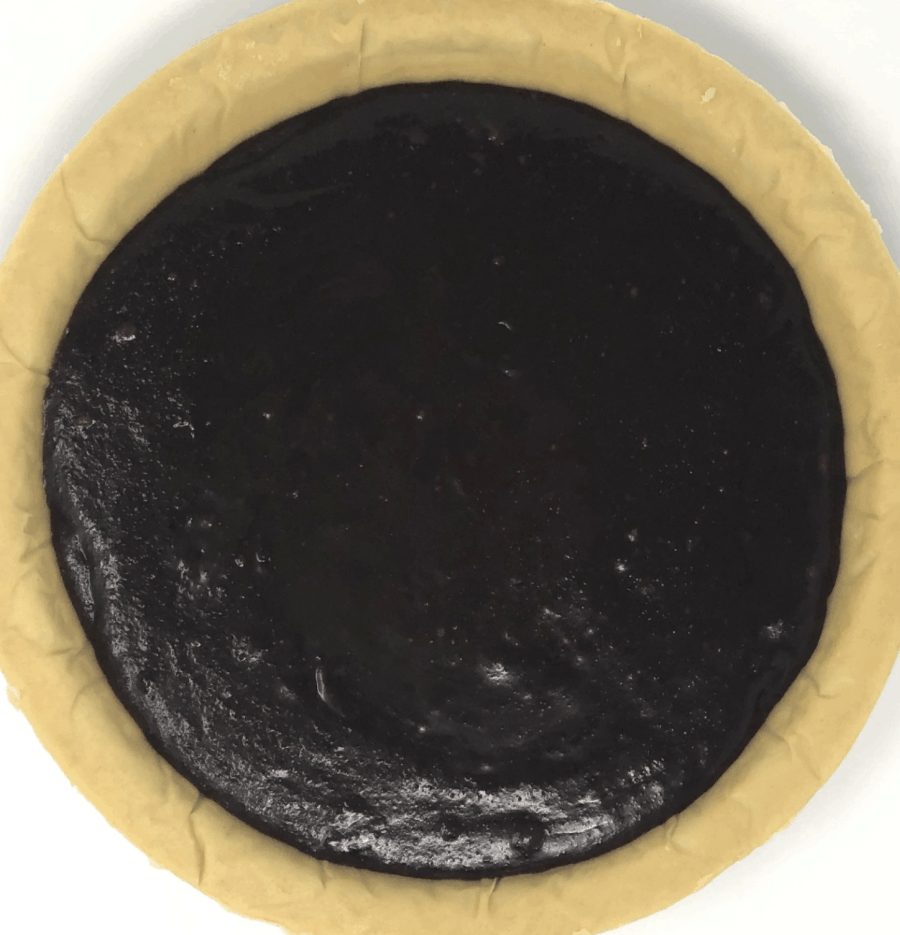
Pour the mixed ingredients into a frozen, unbaked pie shell. Bake the pie for 25 minutes, or until a toothpick can be inserted into the middle and come out clean.
If you are interested in watching the simple baking process, check out Red, White, and Lu’s YouTube video below!
Fudge pie is simple yet delicious. It is a great item to take for any occasion and any season. However, I love baking fudge pies in the fall. Something about the turning of the leaves and the warmth of the chocolate makes for a great combination. I hope you have a delightful piece of fudge pie soon!
Are you a fan of fudge pie? We would love to hear from you. Please drop us a line in the comment section below!
Interested in other amazing dessert recipes? Check out Amish Slush and Fried Oreos!




The recipe calls for 2 eggs but there are clearly 4 eggs in the photo of the batter…jc…I used 2 that the recipe calls for…..
Hi there! I made a double batch here! Sharp eye! I would love to know how your pie turned out 😊
Made this and it was delicious!
I am so glad! It is one of our favorites 😊
When making a double batch, was this for 2 pies or a deep dish? and if deep dish how long did it take to bake?
Hi there! The recipe is for a regular pie shell. For a deep dish, I think that you could double the recipe with no problem and then bake around 45 minutes.
Made this recipe for Thanksgiving, it was absolutely delicious! Just like my Aunt’s old Fudge Pie. So glad I found this recipe. Thanks for sharing.
Thank you so much! I am so glad that you enjoyed! It is definitely one of our favorites 🙂
What size pie shell is used?
Thank you 😊
Standard 9” pie shells work great 🙂
I’d like to make a double batch to fill up a 9″ pie pan. Do you recommend this? Also do you think the outside next to the crust would turn out dry n crumbly? Would the middle get done? I’m excited to try this recipe. Sorry so many questions.
I love questions, no problem at all! These pies are definitely for the regular-sized crusts so I think that a double batch would work well in a 9″ pie pan. If you do this and the crust begins to darken and the inside is still not done, place aluminum foil around the crust edges and it will prevent it from baking so fast 🙂 I do this a lot with apple pies. I hope this helps!
I like to make mini pies! One recipe will make 12 mini pies.
I love making mini-pies too 🙂 This is a great option for some extra bites of crust!
I made this tonight – absolutely delicious! Thank you for a quick and easy decadent dessert!
I am so glad to hear this! Thank you so much 🙂
So mine turned out a little crispy on top. I did bake it an extra 15 minutes because the toothpick was still gooey if I didn’t. Mine was also thicker and lighter in color. Do you have any suggestions?
Hey Mandy! It may be the oven temperature. All ovens bake a little differently. I will say that when it comes out a little gooey in the center if you let the pie sit, and even refrigerate, it will definitely firm up. However, the trick I use with pie crusts can also be applied here. When a pie isn’t cooking as fast as the crust, I place aluminum foil around the shell and it will slow the baking process down and stop the heavy browning of the crust. If you would prefer for the entire top to not get crispy, I would cover the top and the pie crust with foil, and let the rest of the pie continue to bake. I hope this helps. Please let me know if you have any other questions 🙂